you can earn money by adding monetize to your website and It was called Google AdSense.
Before you add or connect your website with Google AdSense should know as below.
we have 5 steps to tell you.
- set up your own website
- apply Google AdSense
- connect your site with AdSense
- copy and past Ads code to your website
- Request Review
Step 1:set up your own website
please make sure your website is domain, if it is subdomain we can not apply it because Google policy can not approve with it.
Subdomains
You’ll no longer be able to add or manage subdomains that are part of an existing site on your Sites page. Any existing subdomains in your account that belong to a site will be removed. This will not impact ad serving or your earnings.
Step 2:apply Google AdSense
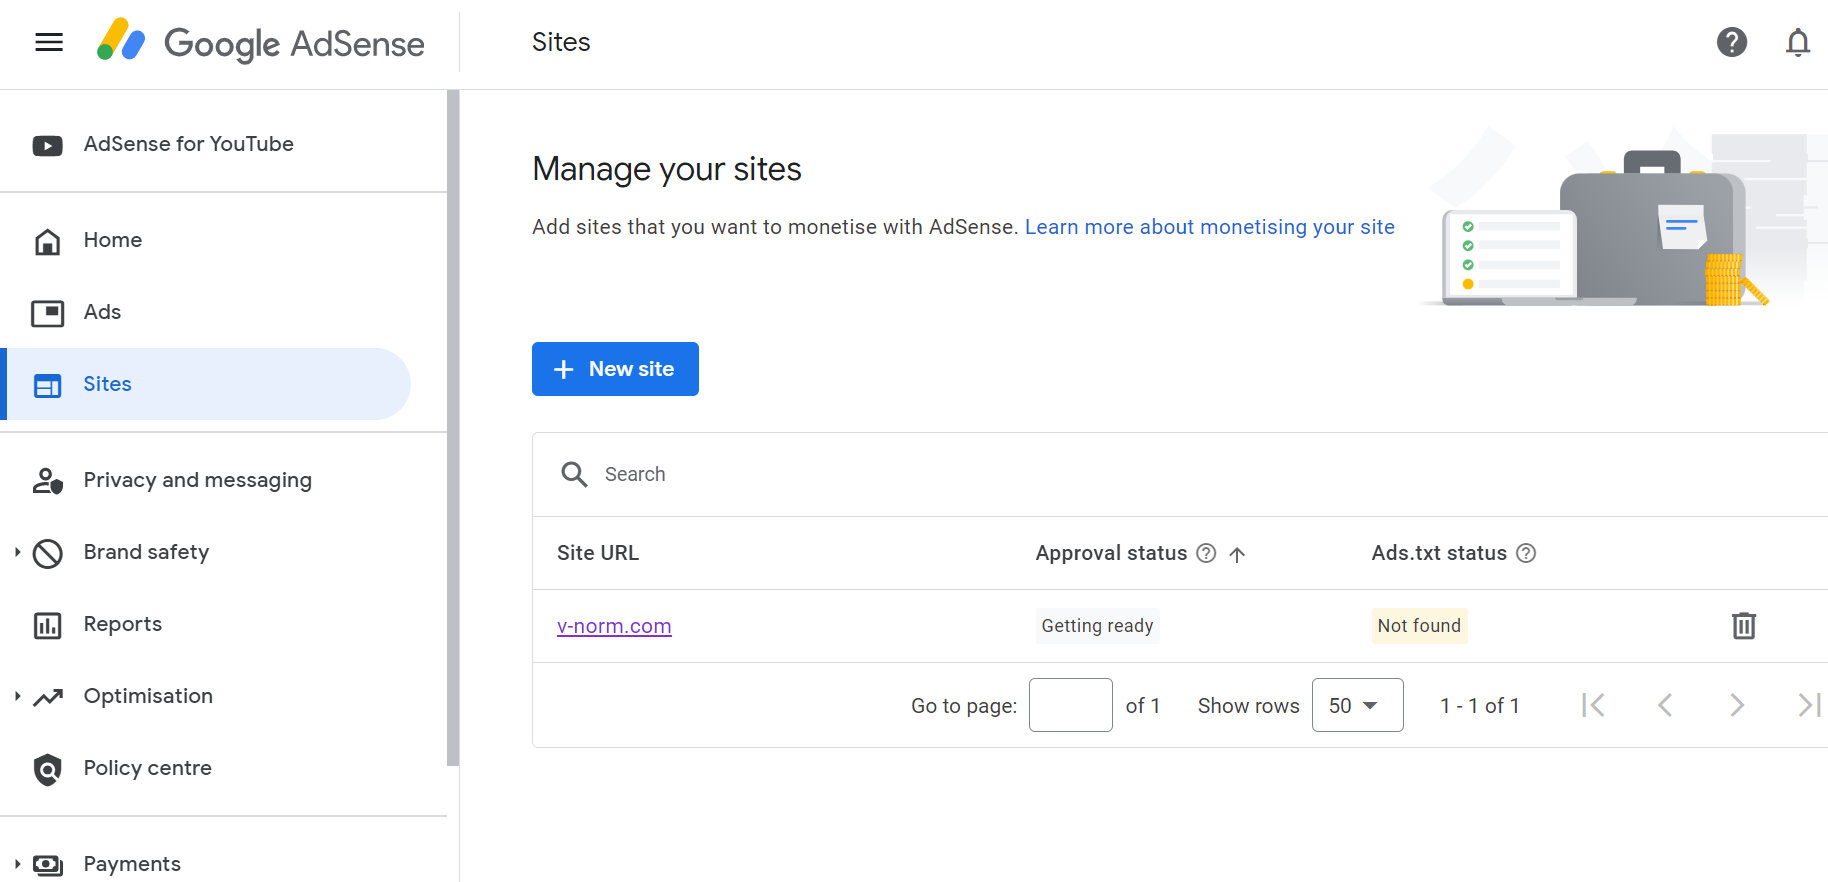
create google AdSense account and click Add site (On the AdSense homepage).
- add your website URL
- go to next steps to connect between google AdSense and website.
Step 3:connect your site with AdSense
Step 4:copy and past Ads code to your website
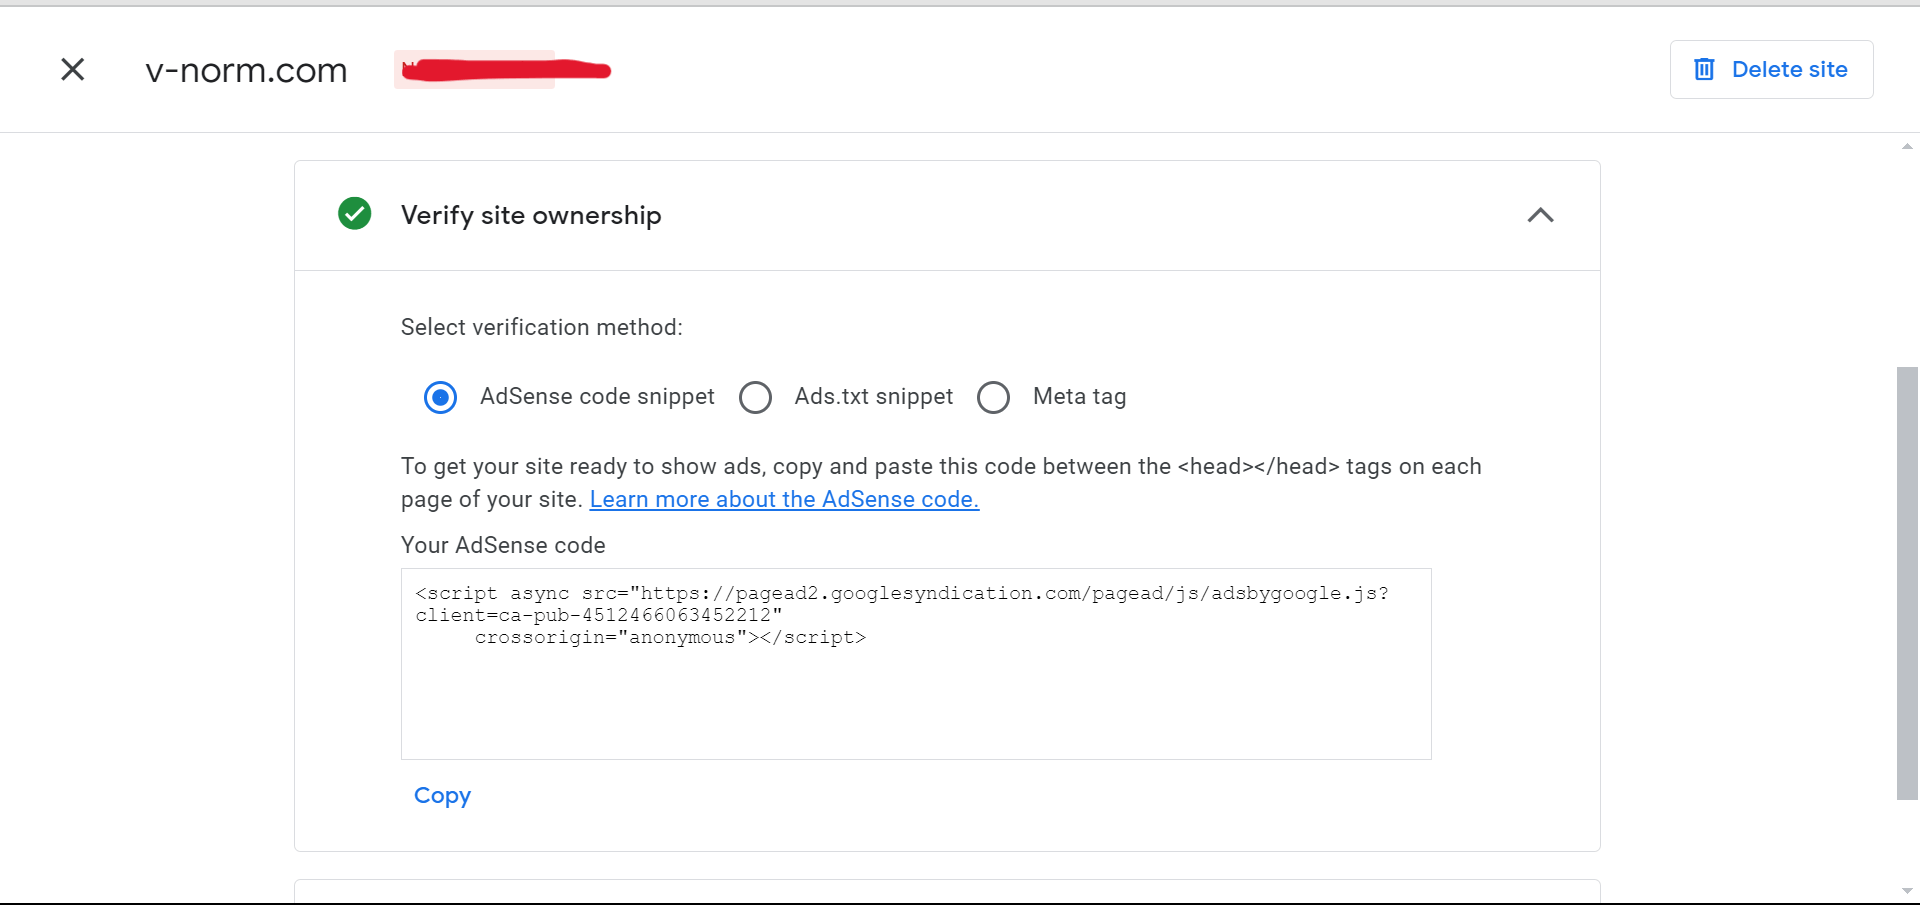
there are 3 methods to add and verify site ownership and you can choose one method below:
-
- Adsense code snippet
- Ads.txt snippet
- Meta tag
copy script (as above picture) and past it between the <head> and </head> tags
if you choose Ads.txt
create ads.txt file in your directory website and add code by take from Ads.txt snippet tab.
copy and past it to ads.txt.
if you choose Meta tag
To get your site ready to show ads, copy and paste this HTML <meta> tag between the <head></head> tags on each page of your site.
Updates to the Auto ads interface
- We have rearranged the forms into two categories according to how they behave:
- Ads that are positioned over a page’s content without changing its layout are known as “overlay formats” and include side rails, vignettes, and anchors.
- Banner and multiplex advertising are examples of “in-page formats”; they are positioned within sections of a page according to the page’s design and content density.
- The format previously called ‘in-page ads’ is now called ‘banner ads’ and is part of the ‘In-page formats’ group.
- The controls for banner ads and multiplex ads are now independent. Previously you had to turn on banner ads before you could turn on multiplex ads.
- Each format is now easily identifiable from the menu by an illustrative icon.
- We’ve added an ad gallery showing examples of each format.
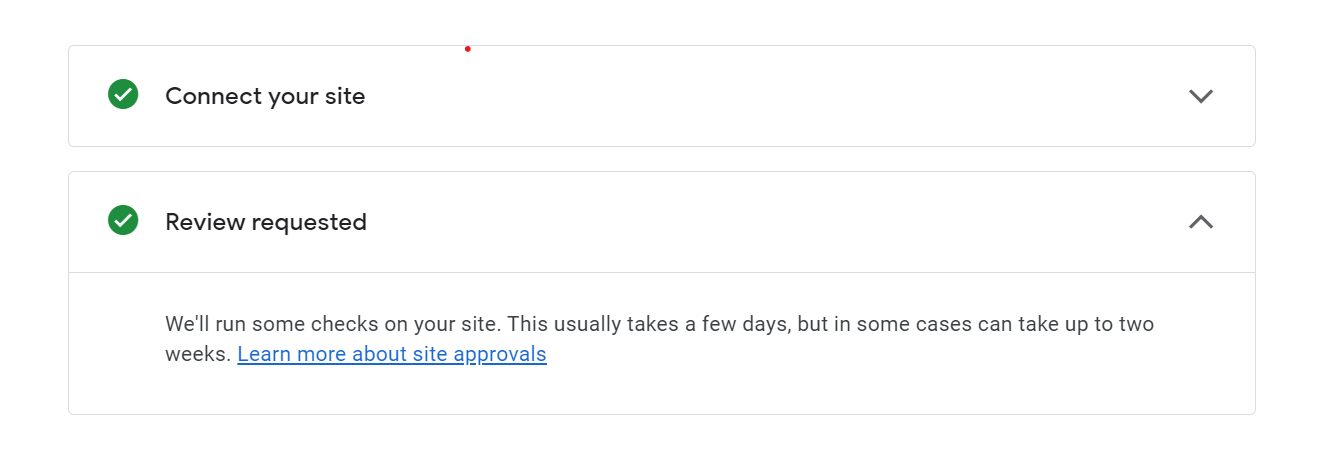
Step 5:Request Review
wait google approve it.
Google Approved and ads will show in website:
Category :
Tags :
Share this Article!


