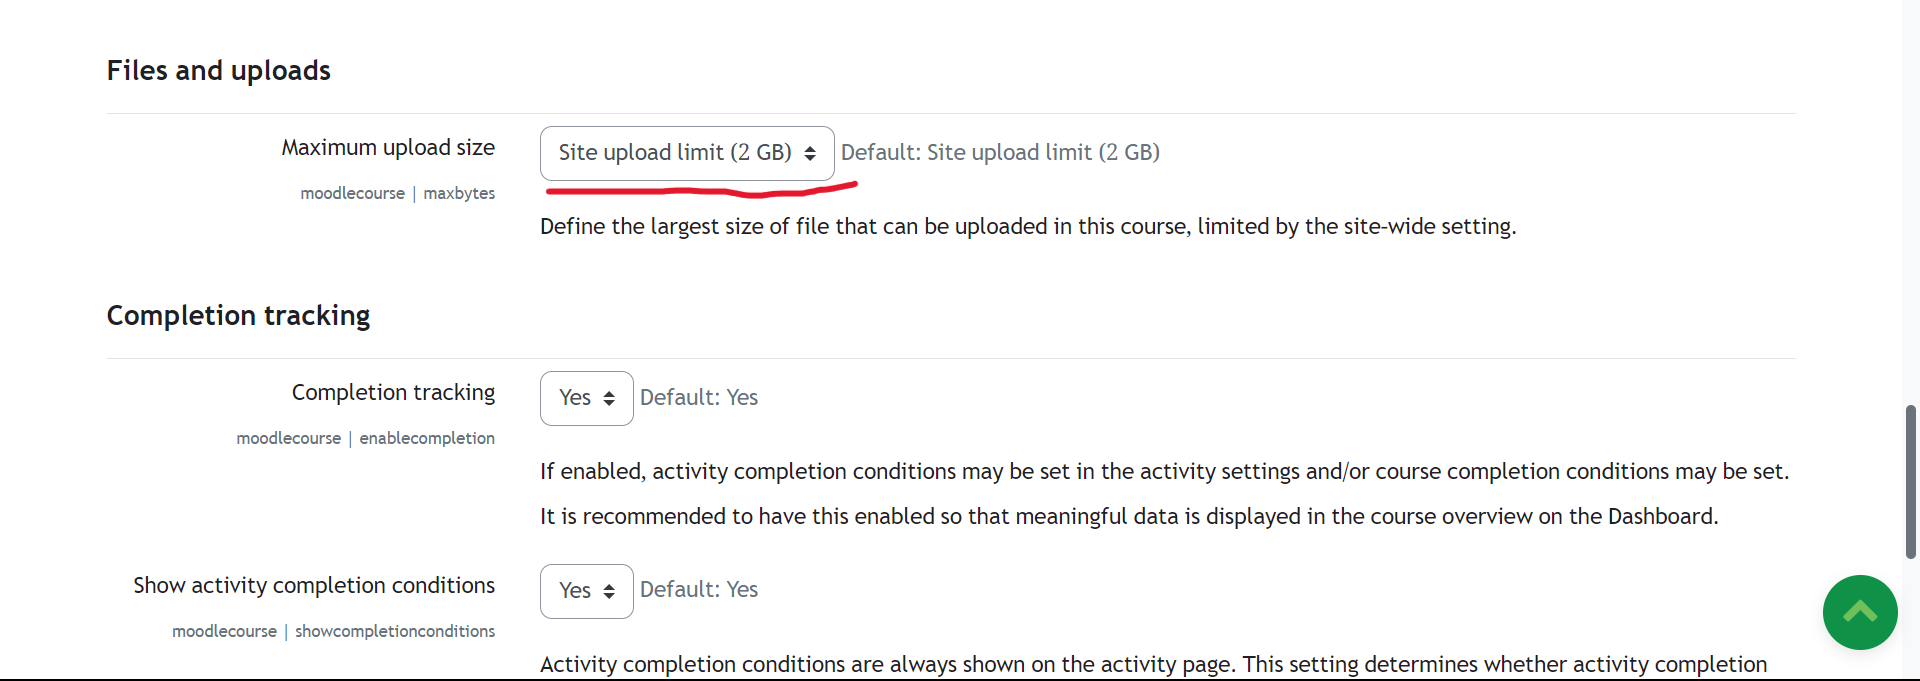
Don’t worry if you have trouble using Moodle’s upload size limitation; a few simple adjustments will allow you to have a seamless, productive Moodle experience while increasing the maximum upload size. For thorough instructions, keep reading.

Adjust PHP Settings
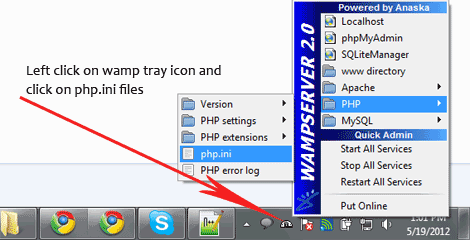
Firstly, locate your php.ini file. You can find this by going to
Site administration → Server → PHP Info. Edit the file and setupload_max_filesizeitpost_max_sizeup to the limit you wish.You can modify the file upload size by following these instructions to edit your php.ini file.
Open php.ini file and find “post_max_size“,”upload_max_filesize” and change it to values that suit your needs.
post_max_size=2048M;
upload_max_filesize=2048M;
Adjust .htaccess File
php_value upload_max_filesize [desired size]M and php_value post_max_size [desired size]M.
The .htaccess file is a directory-level configuration file used to override server configurations.you can edit .htaccess using FTP or cPanel’s file manager. Incorrectly editing .htaccess can result in server errors. Always make a backup before making changes.
Adjust Server Configuration File
upload_max_filesize and post_max_size in the server configuration file.Your hosting company may not allow server configuration changes. If so, consider switching to a more flexible host.
If you’re not sure where it is, contact your hosting company or see the hosting provider’s documentation.Restart your server, or at least the Apache or Nginx service on the server, after making any modifications to the php.ini or .htaccess file. This verifies that the modifications are in effect.make sure to check if the new limit has been implemented before celebrating. To be sure there are no issues, try uploading a file that is almost at the limit.
Conclusion
- Benefits of Increasing Max Upload Size
Users have more freedom to upload larger files without the inconvenience of compression or file splitting. - Upload Limit Tip
Consider making a maximum limit for the course or assignment to avoid overwhelming your server.
Category :
Tags :
Share this Article!


